


Now THIS is a DIY project, you guys. CHEAP, easy, and something you will actually love having around after you are done. The trifecta of crafting. Let me tell you about it.
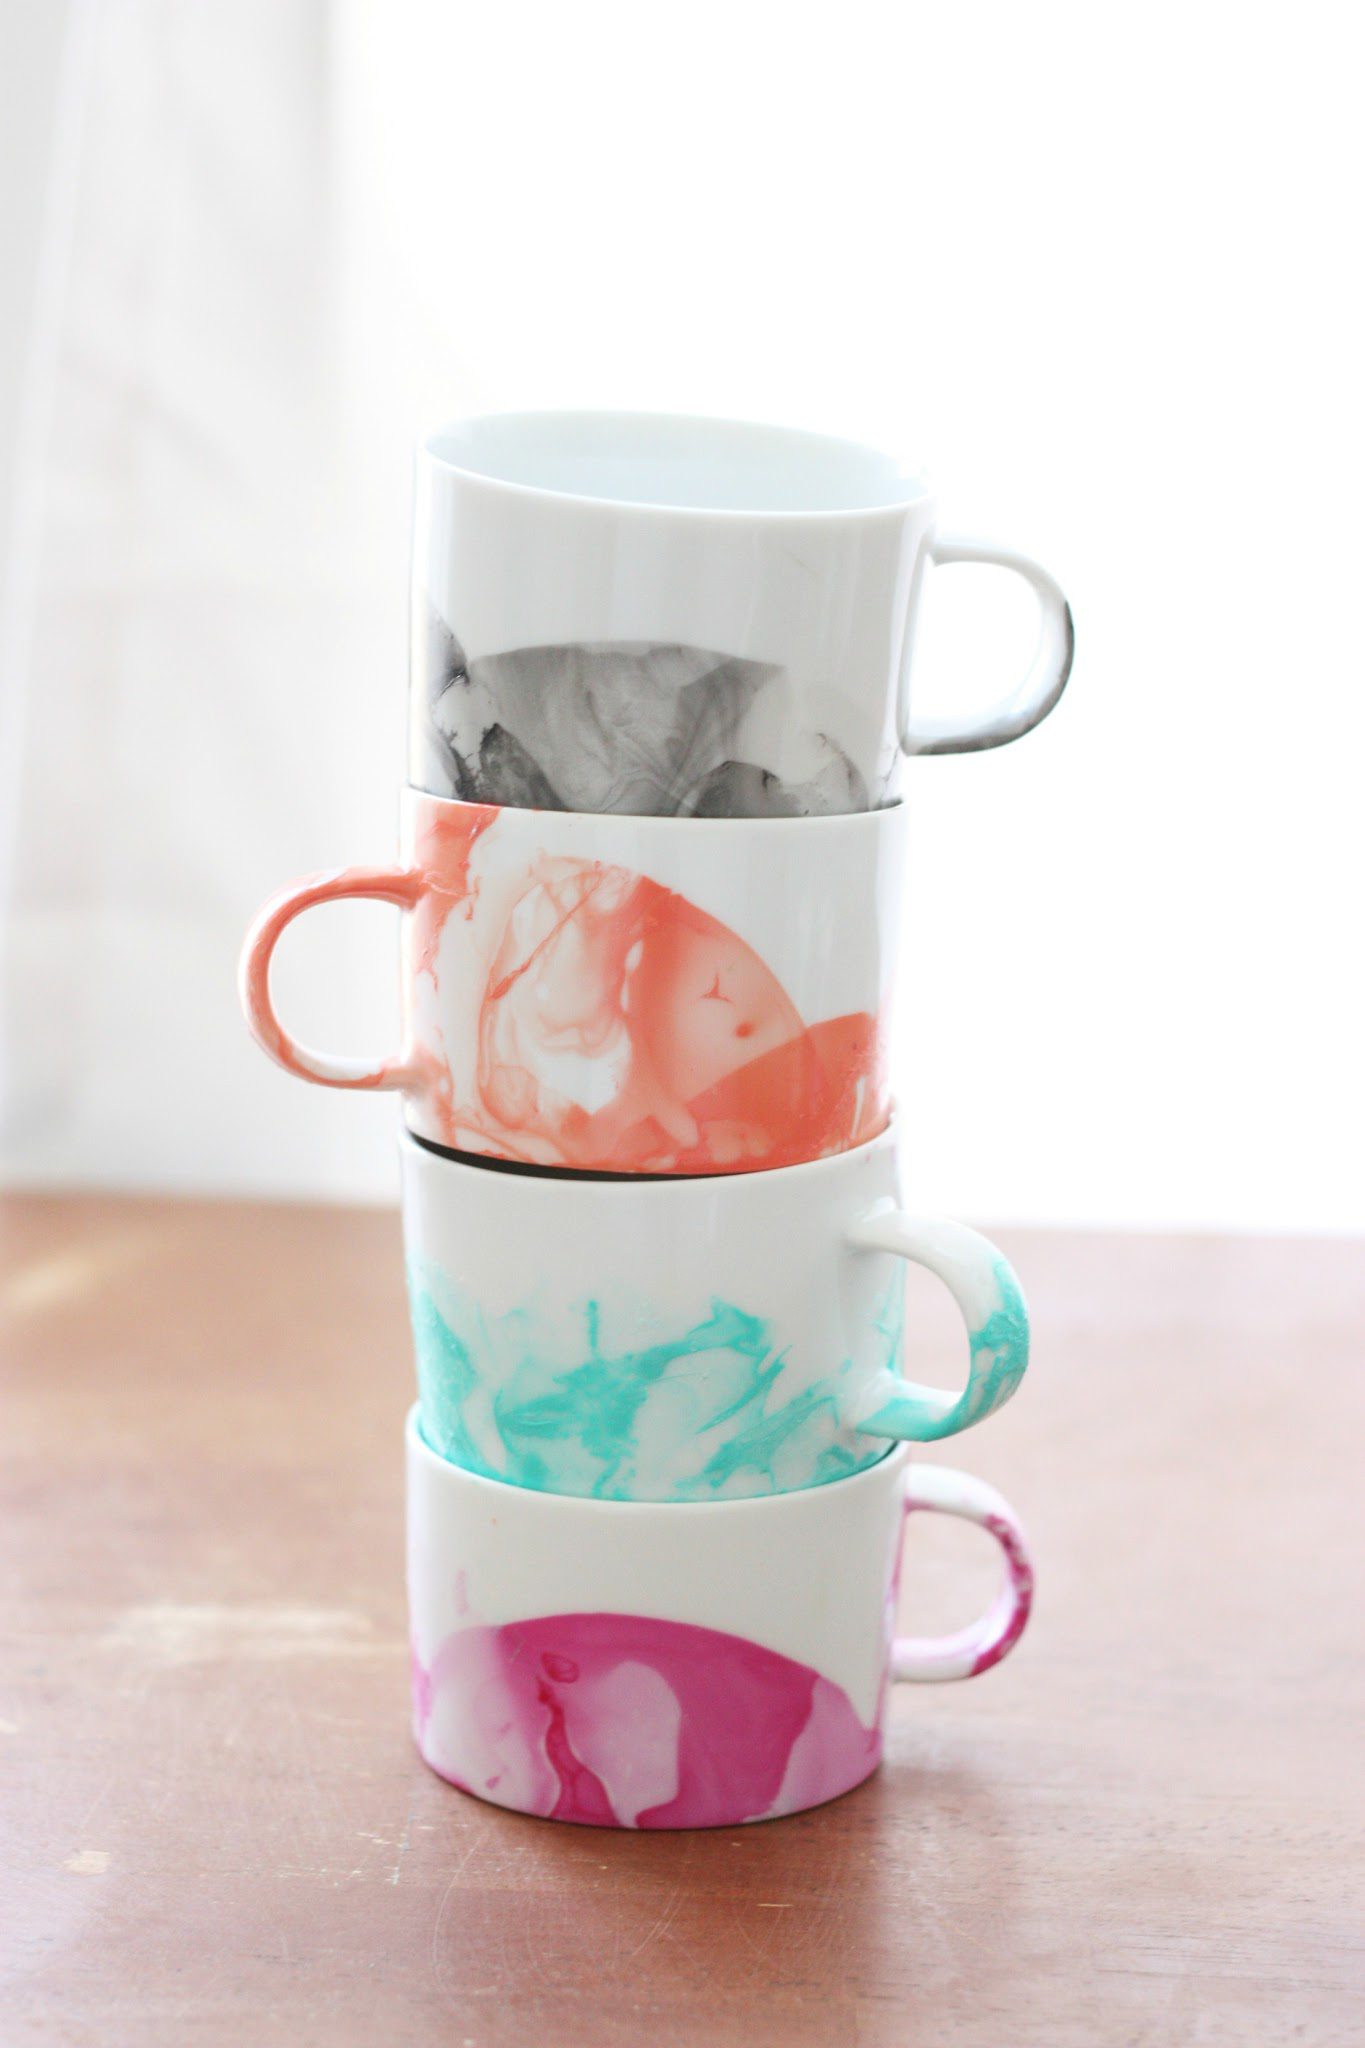
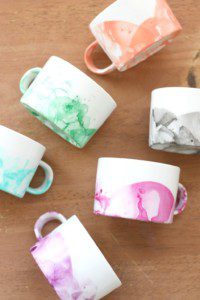
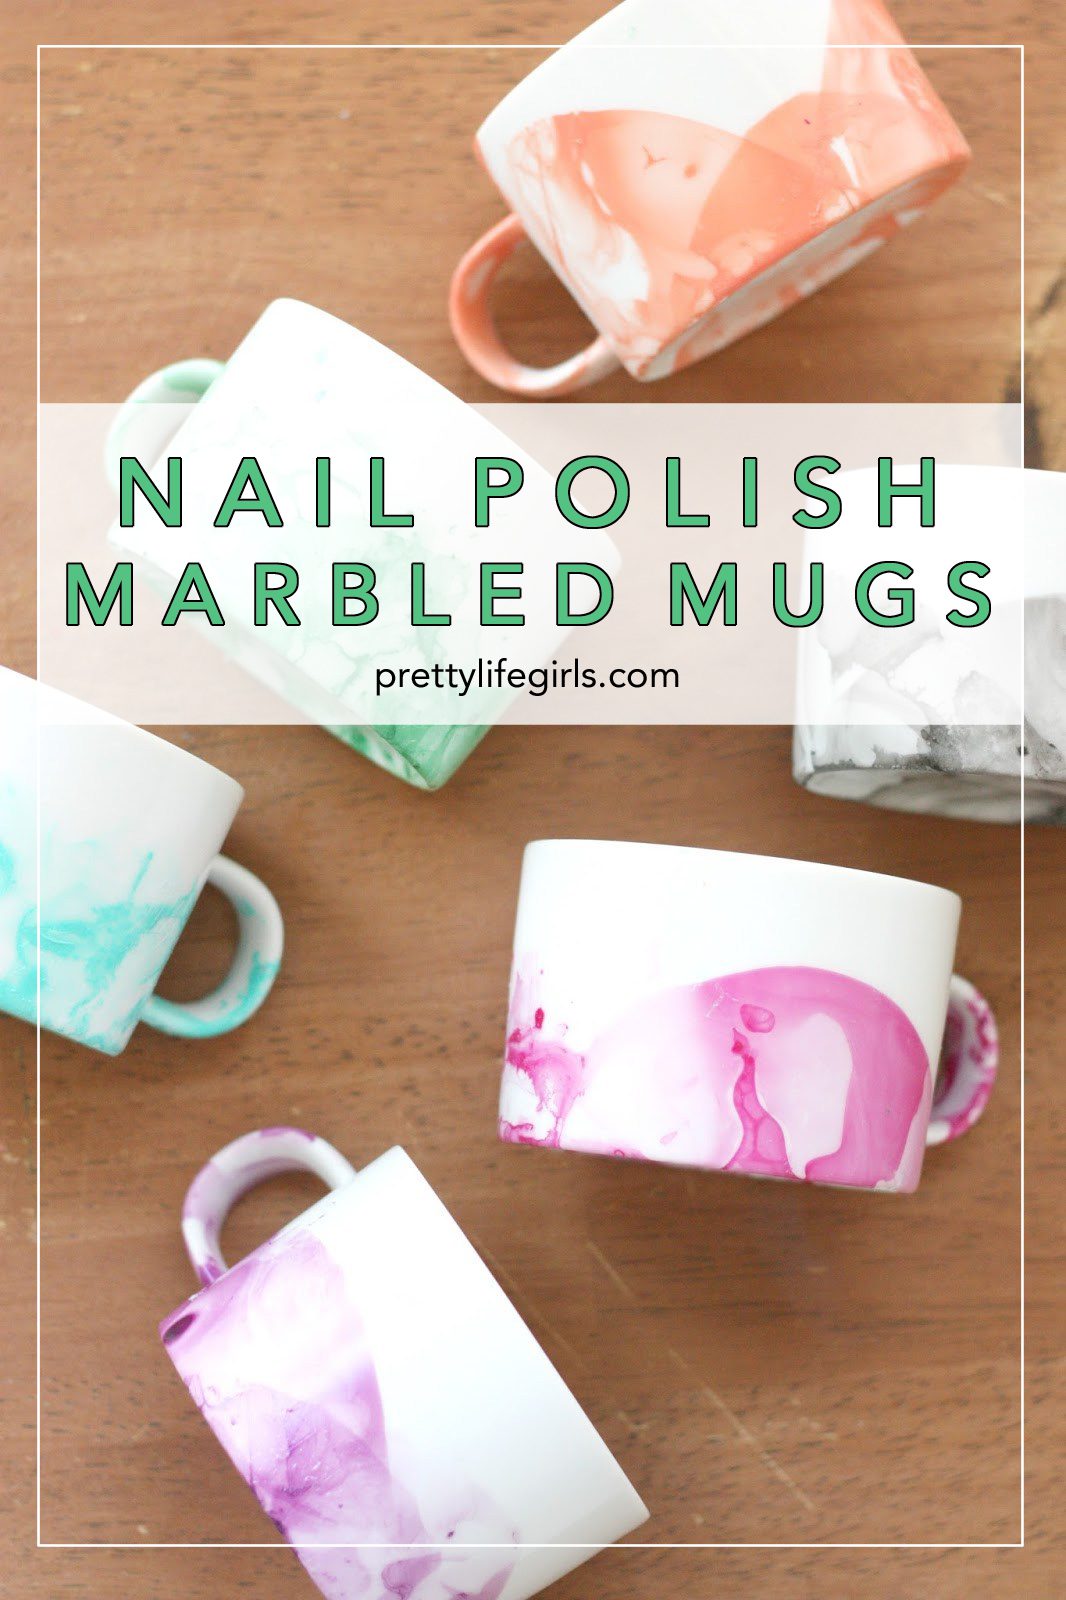
I have been seeing the marbling trend all over Pinterest lately and finally decided that I had no choice but to succumb to the e-peer pressure and try it out for myself. I was so inspired by this gorgeous post where they marbled mugs and decided that might be a perfect place to start! I found my mugs for $.79 each at Goodwill and used nail polish I already had at home which means I was able to make 6 mugs for less than $5! It’s a steal with a BIG payoff that anyone can make. Plus, I’m obsessed with the outcome. I told you, trifecta.

Supplies:
-Mugs
-Nail Polish (stay away from quick dry!)
-Toothpicks
-Container (This will get ruined so make sure it’s old or disposable.)
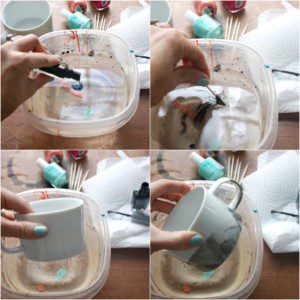
1. Fill your container halfway with hot water. The hotter the better! Once the nail polish touches the water it is going to want to set and heat will slow the process.
2. With the nail polish bottle very close to the surface of the water, pour a drop or two of polish into the water. (Keeping the bottle close to the water’s surface with help the polish stay on top of the water. If you hold the bottle higher the drops will come down with more speed and sink. It’s science, or something.)
3. Quickly use your toothpick to swirl the polish around in the water.
4. Dip your mug in the water! The process is soooo fast once the polish touches the water so you’ll want to move quick!
5. Place the mug on a paper towel to dry and you’re done!
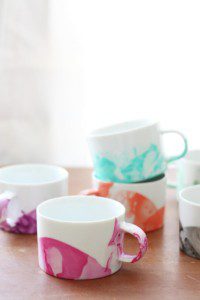
Just like that you’ve got some one of a kind mugs! A couple of things to note, these are not dishwasher or microwave safe so you’ll want to wash them by hand, and you know, not microwave them. Also, when dipping, it’s best to only dip them on the mug below where your lip line will meet the mug, for your health and all that. 🙂
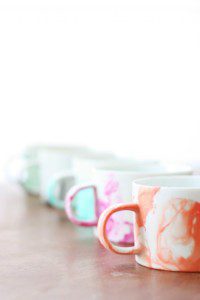
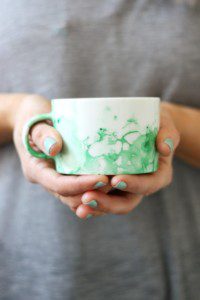
Aren’t they gorgeous? I’m obsessed with thinking about all of the things I can marble and all of the color combinations I could make them with.

Now go get your craft on, and send us pics if you try it for yourself!
ox. Liz


Love it!
Such a cool DIY. Love the results!
Let's Mingle Blog
Wow I really like this.
I´m so gonna do this DIY, dunno when, but I´ll send you the pics so you can see the result! Just loooove it! thanks!
http://supermumdiaries.blogspot.com.es/
just tried this. first one didn't work second one was ok, third was a bit of a flop. I found that by just lightly shaking the container it worked better than the toothpick as the polish stuck to the toothpick. Just wandering how long it stays on the cup for?
Hello Liz,
I really enjoyed reading your post about these DIY marbled mugs. They look super cute! I definitely agree with you about how popular marbling has become. The whole marbled-look is becoming trendy. I can't wait to try this. You made this project easy to follow and I find that especially helpful when it comes to art DIY’s. I did read about this protective spray that makes it safe to drink out of the mugs with nail polish on them. That way the whole mug can be marbled. I'm not quite sure where to find that though. I like how this project is simple and I won’t need to spend a lot to get the supplies. I’m glad that I came across your post because now I know how to marble mugs and can try it on my own.